

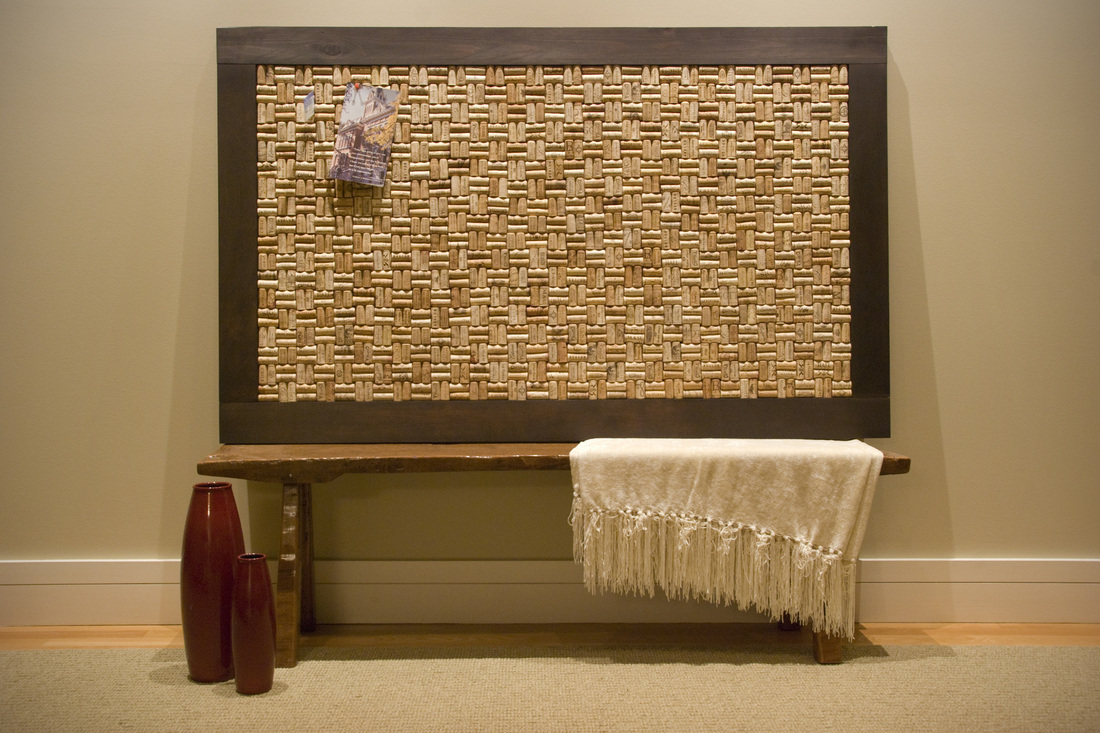
This was one of those "Dear Lord, why am I still working on this???" projects but damn, it's good looking. In fact, it's near impossible to look away. After it was finished I found myself simply staring at it for many a long length of time. The final product used 1,116 corks, many sticks of hot glue, measures about 5ft. wide by 3ft. tall and weighs almost 36lbs. Total cost was about $65, but that included a brand-new hot glue gun for about $25. The rest was for extra glue, paint, wood stain, and an extra piece of plywood. I didn't buy a single cork. (Note: These pictures don't do the board justice. Weebly seems to alter photos, so I apologize for them looking yellowish and dull.)
The inspiration for this project actually came from my Aunt. You see, she has been collecting wine corks for, well, a long time and this past summer, she turned an old wall-mounted map into the base and frame for a cork board made out of the corks she had collected. I thought this was really neat, so I decided to do the same!
The first order of business was a little online research about wine cork boards. Of the hundreds of photos I saw on Google, I didn't find many that were particularly attractive. Most were very small and impractical looking and the workmanship wasn't there. Some people had cut their corks in half long-ways to double the surface area their corks would cover. Good idea in theory, but I thought this might cause problems when trying to pin things to the board because you might put a pin in a spot that had a limited amount of cork depth. A lot of boards had rows of corks that weren't straight or were cut to fit in a particular space. I knew I didn't want that either. I wanted a BIG, dramatic board that had plenty of space for photos, notes, etc. and doubled as a center piece or work of art. With these thoughts in mind, I got to work!
The first order of business was a little online research about wine cork boards. Of the hundreds of photos I saw on Google, I didn't find many that were particularly attractive. Most were very small and impractical looking and the workmanship wasn't there. Some people had cut their corks in half long-ways to double the surface area their corks would cover. Good idea in theory, but I thought this might cause problems when trying to pin things to the board because you might put a pin in a spot that had a limited amount of cork depth. A lot of boards had rows of corks that weren't straight or were cut to fit in a particular space. I knew I didn't want that either. I wanted a BIG, dramatic board that had plenty of space for photos, notes, etc. and doubled as a center piece or work of art. With these thoughts in mind, I got to work!
 The cork boxes in the trunk.
 Last Saturday I grabbed some boxes from the attic, labeled them "Drop Corks Here" and went around to a bunch of local restaurants asking them to collect their corks for me as they open bottles. Still waiting on those, but Maggiano's and Fleming's already had some saved! Between those two, I came home with about 300 corks. Sunset Grill was also a huge contributor. Can't thank you all enough!
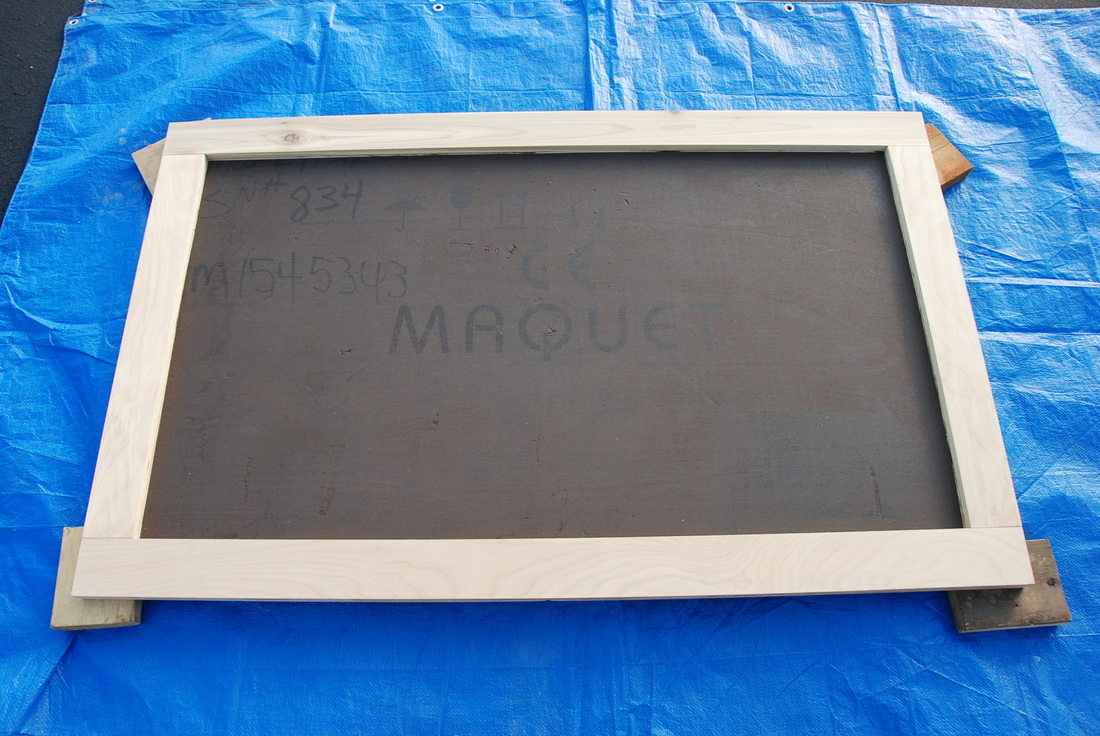
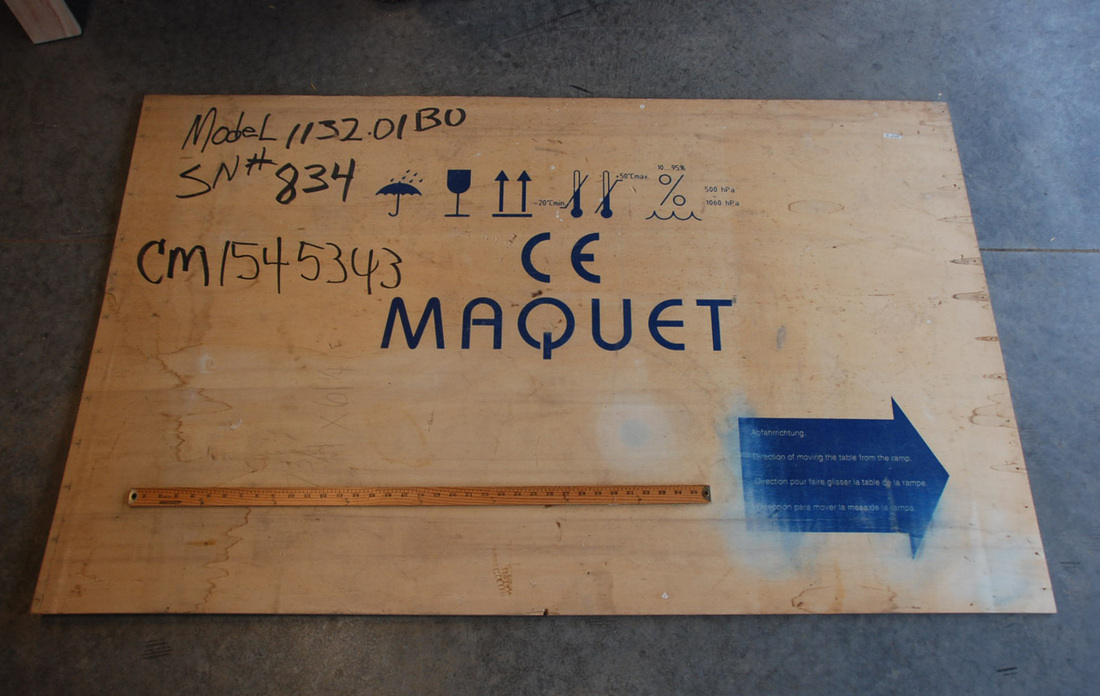 Plywood base. I included a yard stick for reference.
 Later, in the garage, I found a piece of plywood and with some other boards lying around, mocked up the frame of the board.
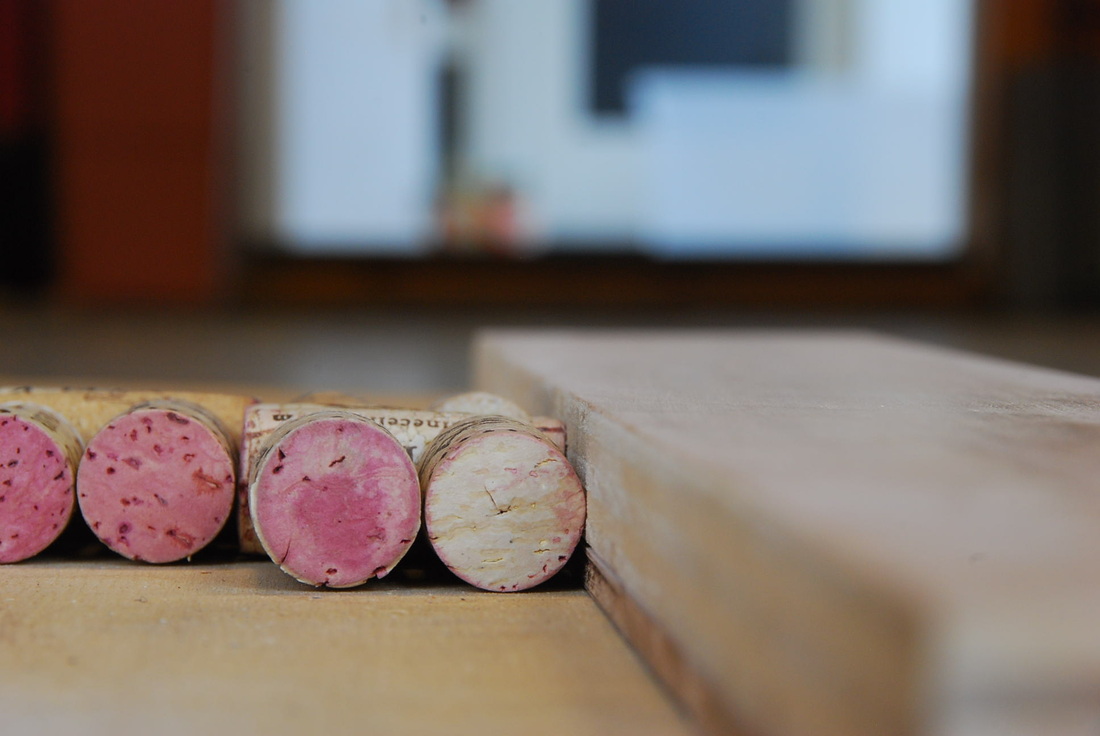
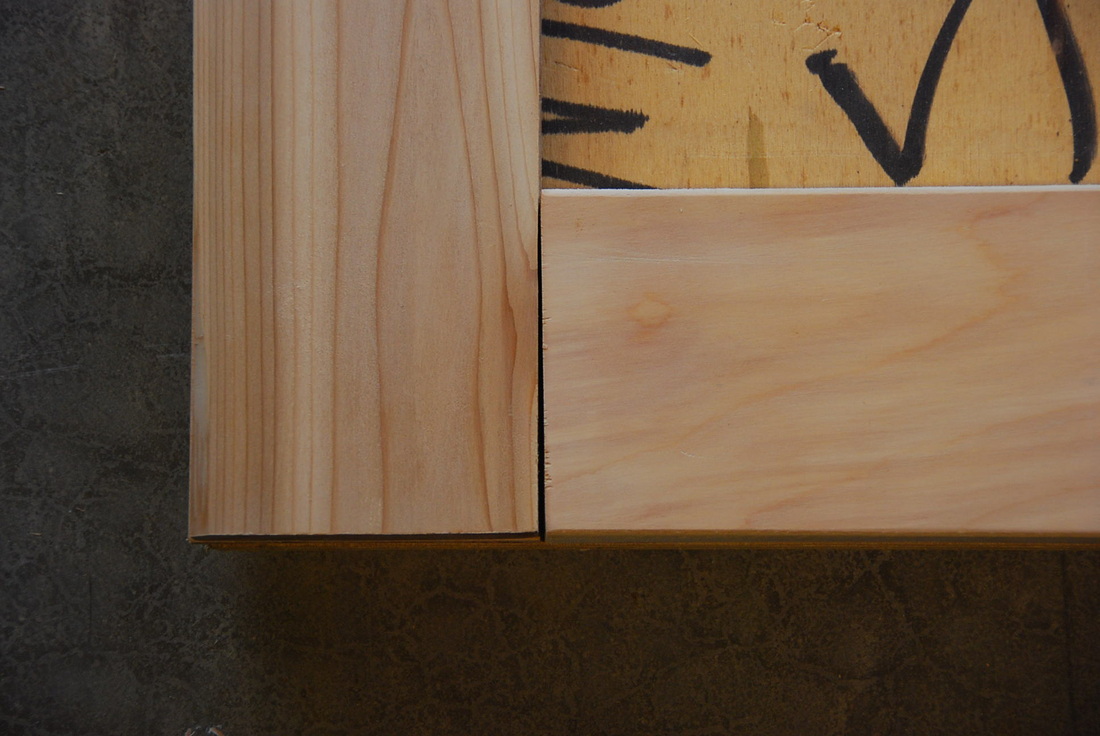
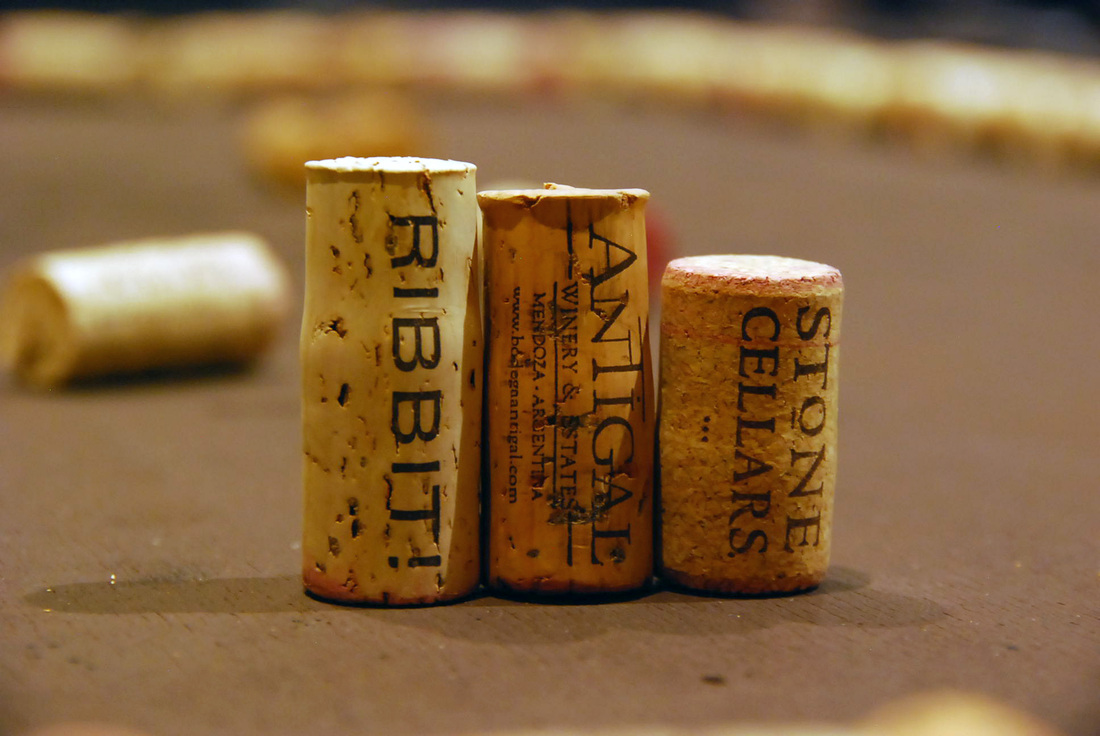
 Corks next to a 1"x4"
 I placed a few corks on the board to see what it would look like against the framing pieces. I decided I wanted the border to be a little deeper, as some of the corks were taller than the frame.
 Corks next to a 1"x4" with a 1/4" shim underneath.
 With an extra piece of 1/4" plywood, the frame looked good! I figured it might be cool to put a piece of glass in there at some point, so the extra depth would be handy. I also think it just looks better that way. Edit: The completed board wasn't deep enough for a glass surface.
A little side note about lumber: a 1"x4" is not actually 1" deep by 4" wide, as I previously thought. It's actually 3/4" by 3-1/2". This is because a 1"x4" is a rough size and after the planks are cut from the original log at the mill and planed, the board often gets shaved down a bit from the original size.
This was a frustrating discovery. At the time, I knew I had some boards that were 3/4" deep and that I wanted about a 1/4" of extra depth for the framing boards. So I went to Lowes looking for a true 1"x4" board, which, much to my chagrin, didn't really exist. So after some brainstorming, I bought a 1/4" piece of plywood that was 2'x4' and cut it down to fit the 1"x4" boards I had at home. I also bought some 1-1/4" wood screws.
This was a frustrating discovery. At the time, I knew I had some boards that were 3/4" deep and that I wanted about a 1/4" of extra depth for the framing boards. So I went to Lowes looking for a true 1"x4" board, which, much to my chagrin, didn't really exist. So after some brainstorming, I bought a 1/4" piece of plywood that was 2'x4' and cut it down to fit the 1"x4" boards I had at home. I also bought some 1-1/4" wood screws.
 Zig-zag pattern demonstrated with pencil.
 So after cutting the 1/4" ply into planks, I glued them to the of the boards I cut previously. To do this, take a bottle of wood glue and make a zig-zag pattern on the back of one and simply stick it to the other board... aaaaand clamp.
 1/4" ply planks being glued to the 1"x4"s.
 And clamp a lot. Just doing this part took the rest of the weekend. I had eight clamps and I was tempted to buy some more to speed up the process. In the end, I just decided to wait.
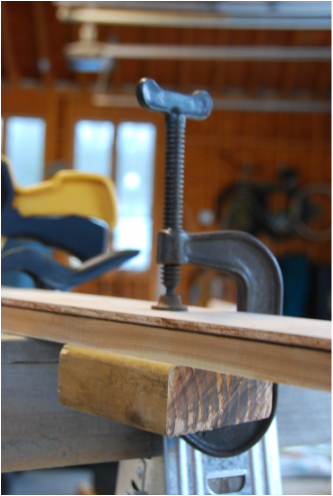 C-clamp with wood block "padding."
 One of the clamps I used was an old C-clamp. It has pretty small contact points so if you ever decide to use one, it's a good idea to put an extra piece of wood in between it and the piece of wood you're gluing. This is to prevent the clamp from denting your visible boards. Since the thicker board is going to be the face of the frame, I placed a block there.
 Frame done! Just have to screw it down.
 So after a couple days, the framing pieces are done! And it looks pretty good.
(It looks warped because of the wide-angle camera lens.)
(It looks warped because of the wide-angle camera lens.)
 The boards need sanding...
 Well, almost done. The ends of the boards aren't quite square. Time to bust out the sander.
 My orbital sander.
 This little gem is my orbital sander. It's not exactly ideal for squaring up the ends of boards, but it's better than nothing. So armed with some very rough 60-grit sanding pads, I ground down the uneven ends of my framing pieces.
Another tool that is really handy to have is a square. It's basically a ruler with an attachment used to measure right angles. I used one to get the ends of the boards flush.
Another tool that is really handy to have is a square. It's basically a ruler with an attachment used to measure right angles. I used one to get the ends of the boards flush.
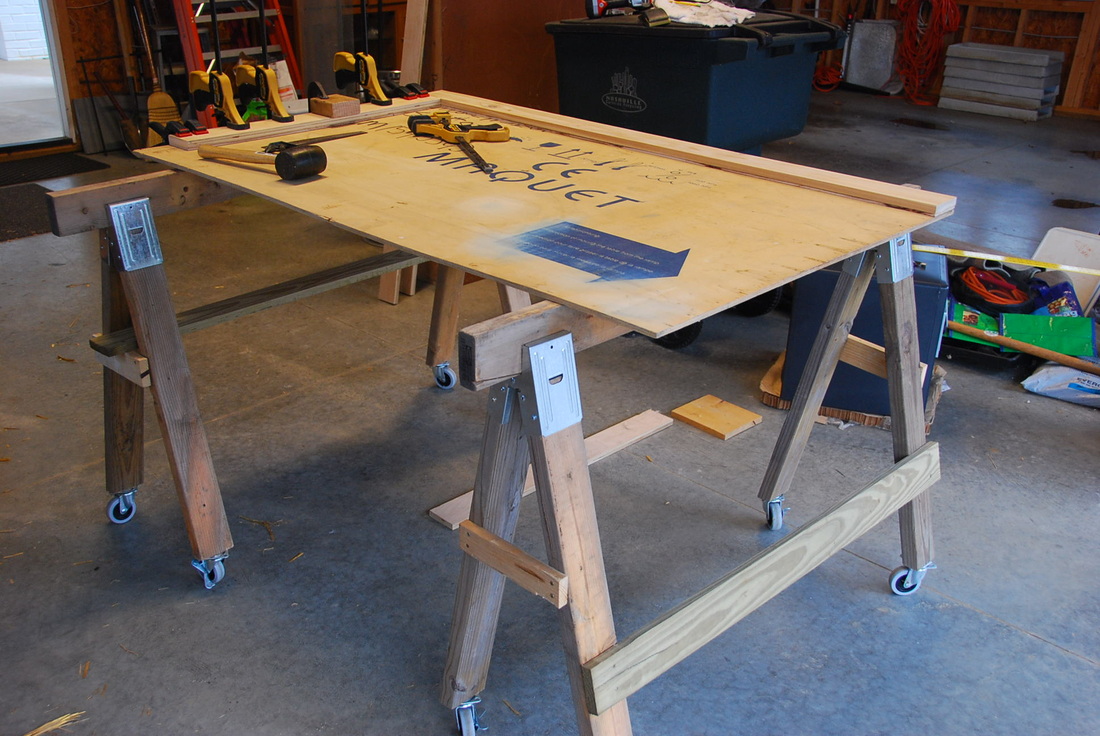 Up until this point, the whole project was on the ground.
 Once the boards had square ends, I raised the whole project off of the floor and onto some saw horses to attach the boards to the plywood backing. This allowed me to clamp the boards in place and then flip the whole thing over to drill in the screws from the back.
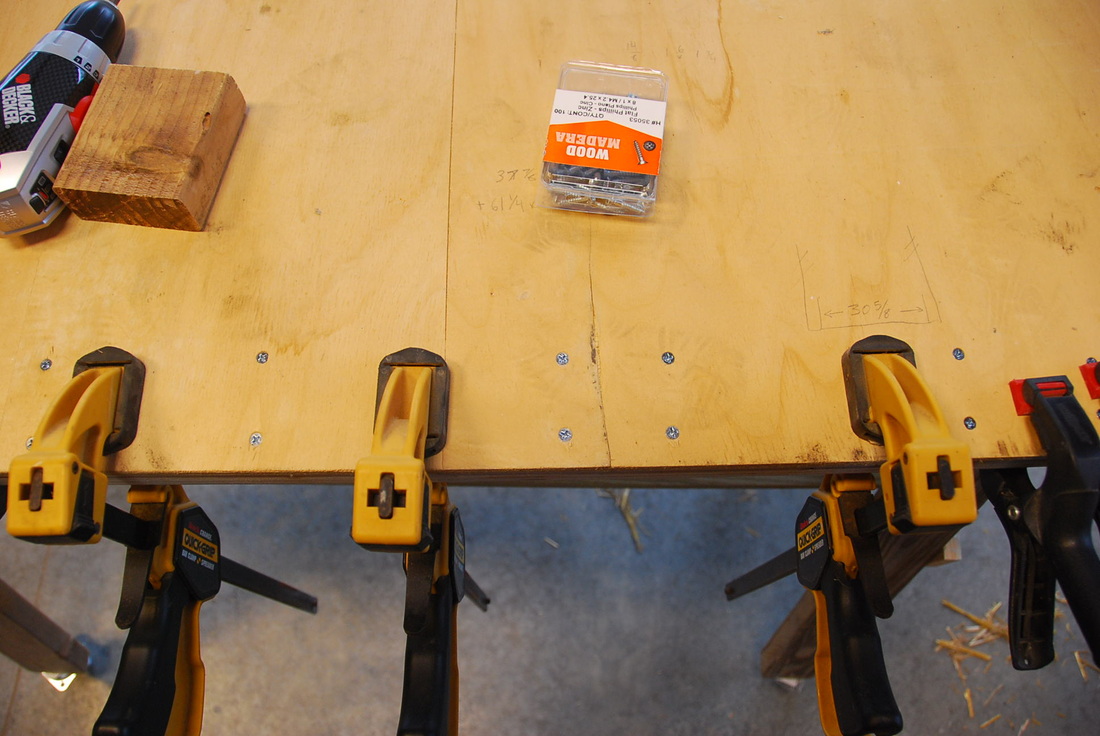 Screws placed in between the clamps.
 Once the setup was face-down on the saw horses and still clamped together, I drilled the screws in through the back of the plywood in pairs, about 8" apart. It might seem like over-kill on the screws, but the plywood was slightly warped and I thought a few extra screws would help flatten it out.
No need to drill pilot holes for these things. The wood screws went straight in.
No need to drill pilot holes for these things. The wood screws went straight in.
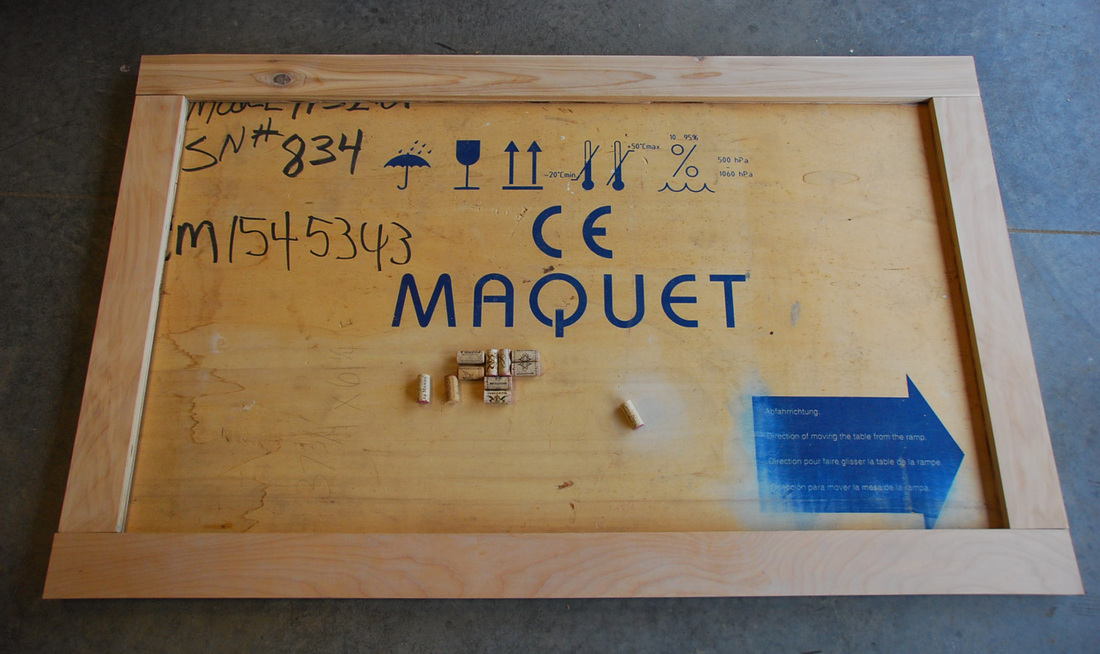
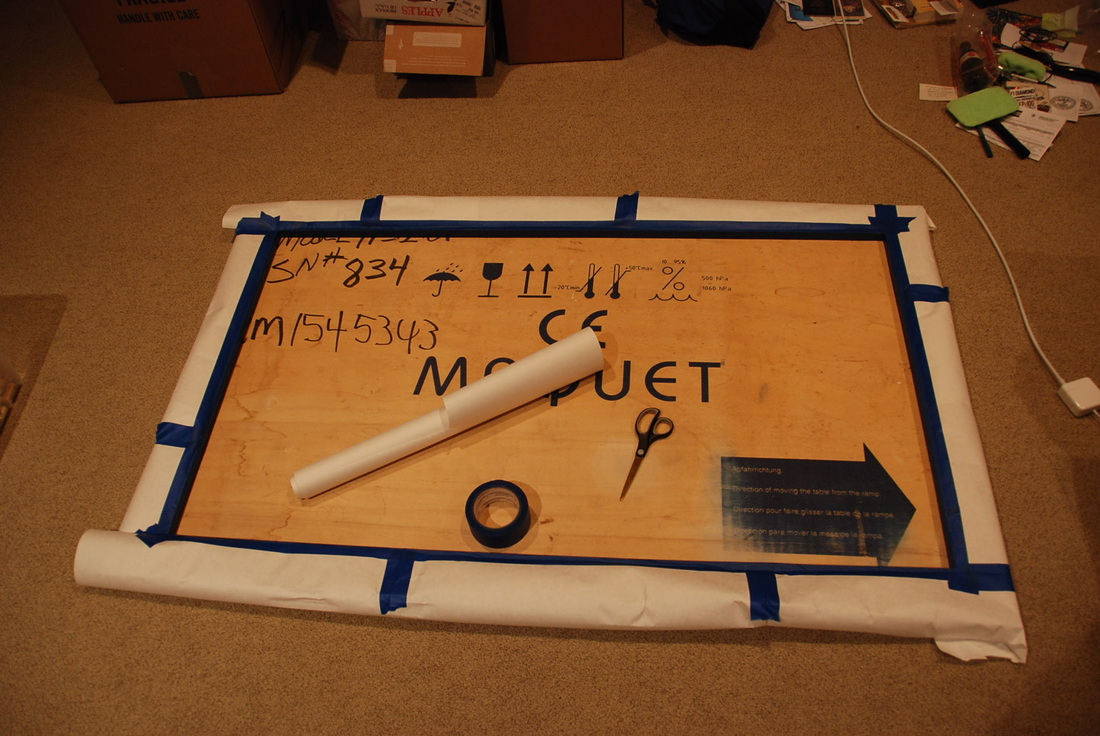 Edges masked off with some painters tape and paper.
 Once the frame was screwed on, I vacuumed the whole thing and brought it inside to start laying out the corks. I realized that the writing and blue images could be seen through the small gaps in the cork pattern.
So I masked the border and went back to Lowes to get some dark brown spray paint to cover the base. I also picked up a 1/2-pint can of very dark wood stain for the border to give it a strong contrasting hue in relation to the lighter colored corks. Here's a link to a video about staining a piece of wood. Going back to my original idea, I envisioned a large and dramatic wine cork board. We'll see!
So I masked the border and went back to Lowes to get some dark brown spray paint to cover the base. I also picked up a 1/2-pint can of very dark wood stain for the border to give it a strong contrasting hue in relation to the lighter colored corks. Here's a link to a video about staining a piece of wood. Going back to my original idea, I envisioned a large and dramatic wine cork board. We'll see!
 Post spray. 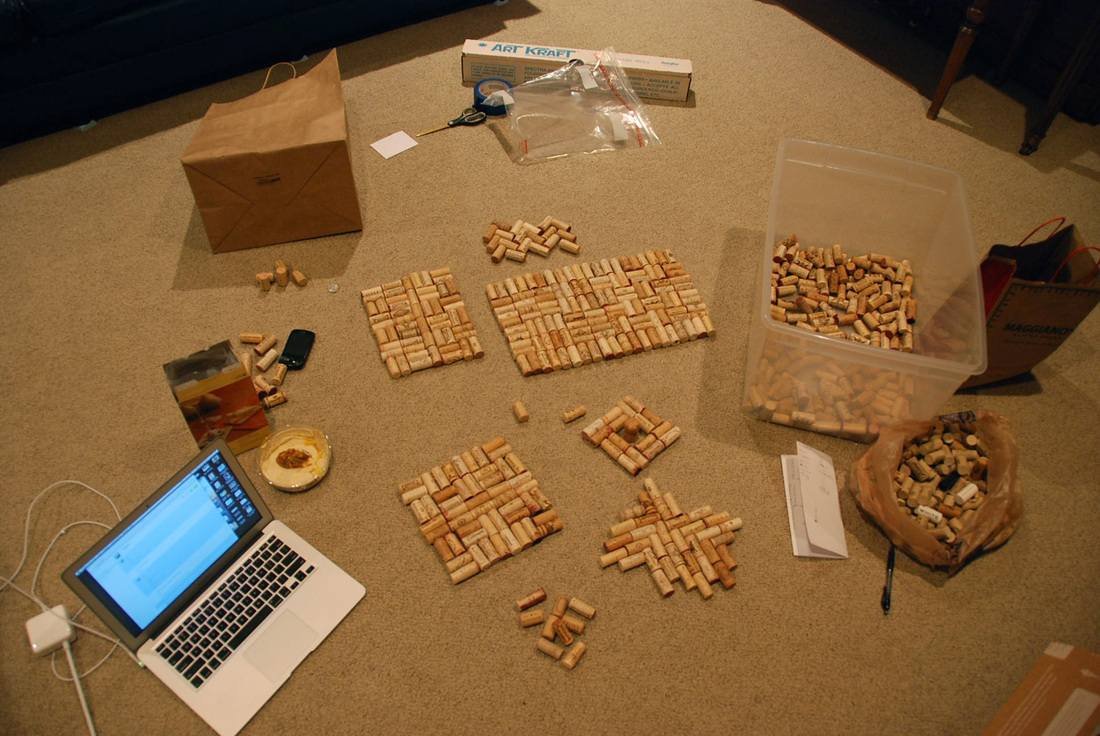 Figuring out a pattern. | 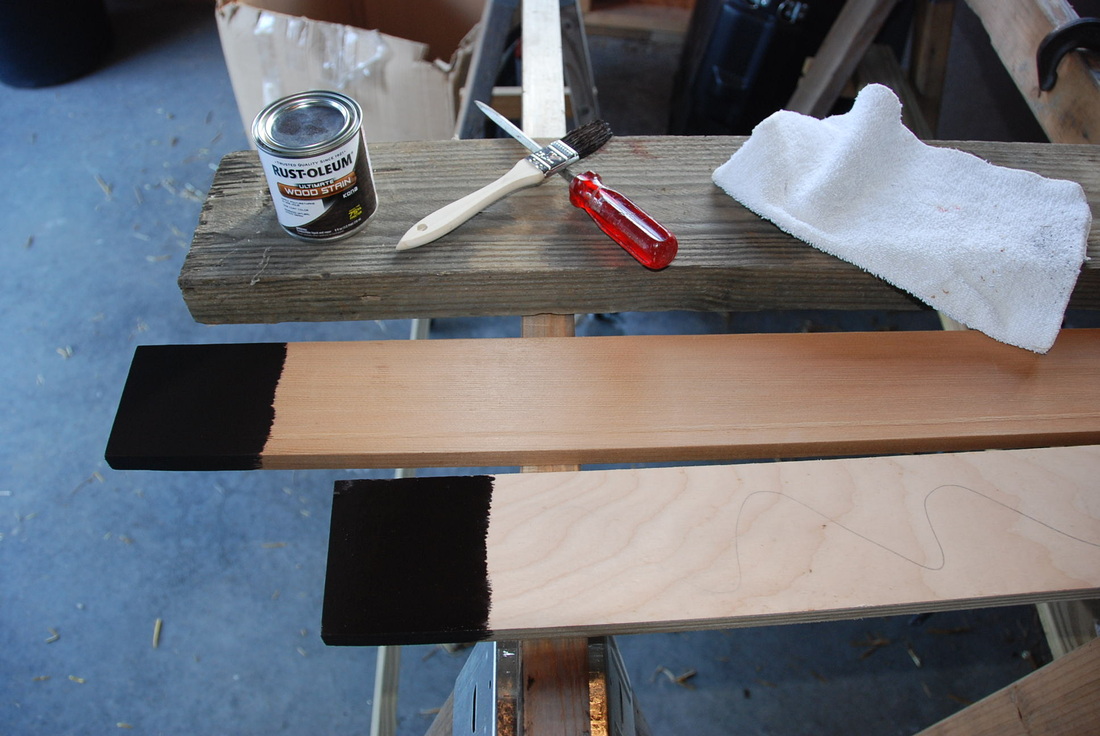 Testing stain on different wood. 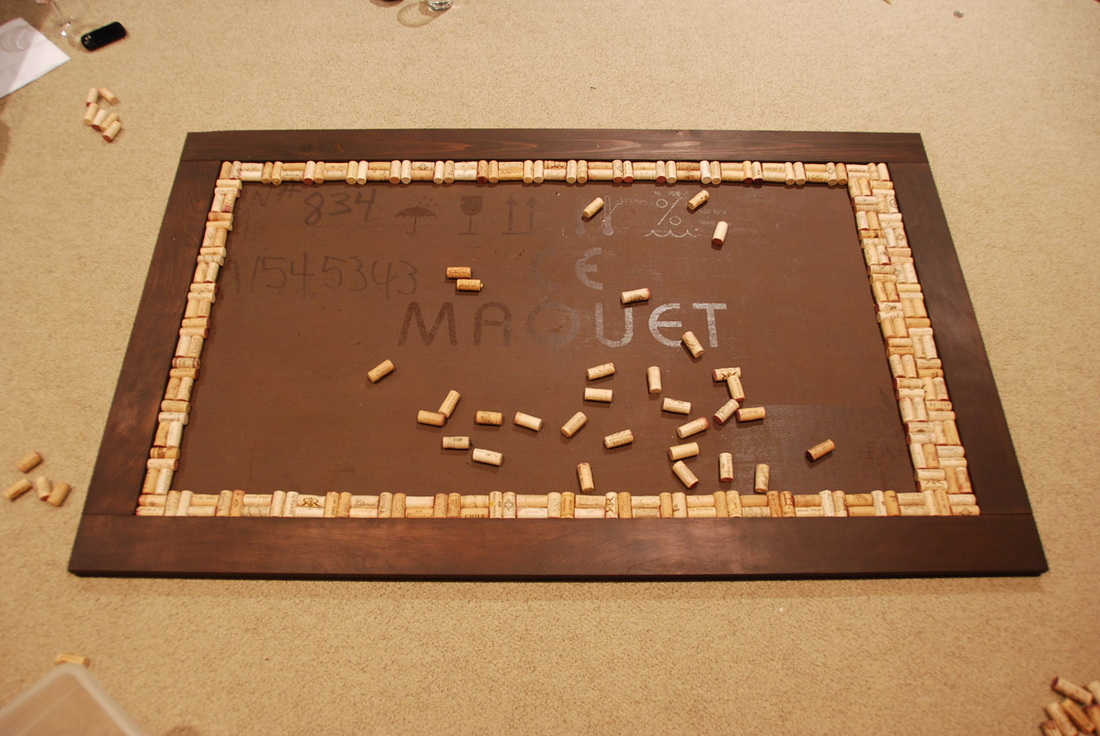 Tryin' things out. |
One big reason this project took forever. I ended up putting them in roughly three size groupings in their own bins, selecting the best size for the space as I needed them.

Once the brown paint and stain had dried, it was just a matter of sorting the 1000+ corks, laying them down and gluing them on with my newly purchased hot glue gun. The process went back and forth between putting the corks down in such an order so that they would completely fill the row without having to be cut and gluing them. Since corks come in a variety of diameters and lengths, I highly recommend putting down a entire row of corks before gluing them to make sure they fit. I also recommend lining the edges with something (like cardboard, seen in the pic) so you don't get spirder-web thin strings of hot glue all over everything.
Some rows were indeed a very tight squeeze and sometimes a whole row would pop out under the pressure while I glued down others. This part of the project easily consumed of the majority of the time spent on it.
I suggest making a good Pandora station and finding a huge dose of patience. I had to step away from it many, many times for sanity's sake. The tedious labor of getting 1,116 corks down and glued was certainly worth it though in the end because it all came together to make a beautiful piece.
One final thing that kept me going was that I had decided during the process to give the board to my dear friend Adam and his new wife Lauren as a wedding gift. Thinking of them often gave the little extra push it took to get another row down at 2am on many occasions.
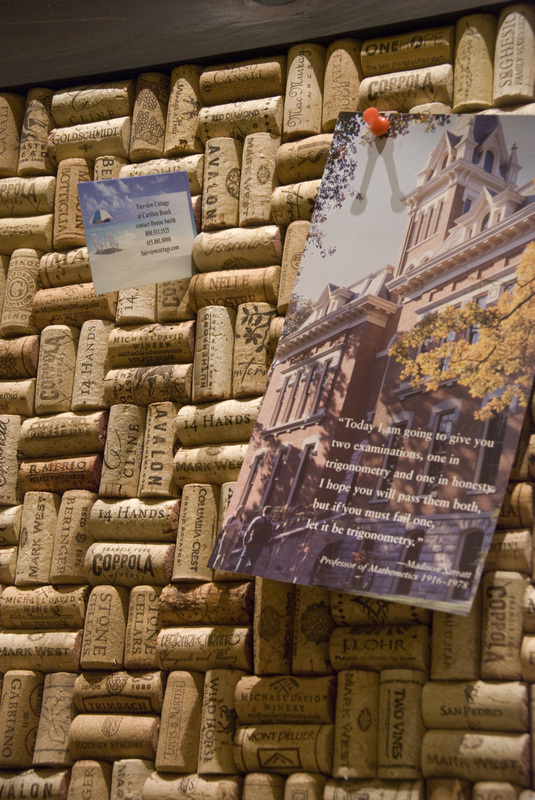
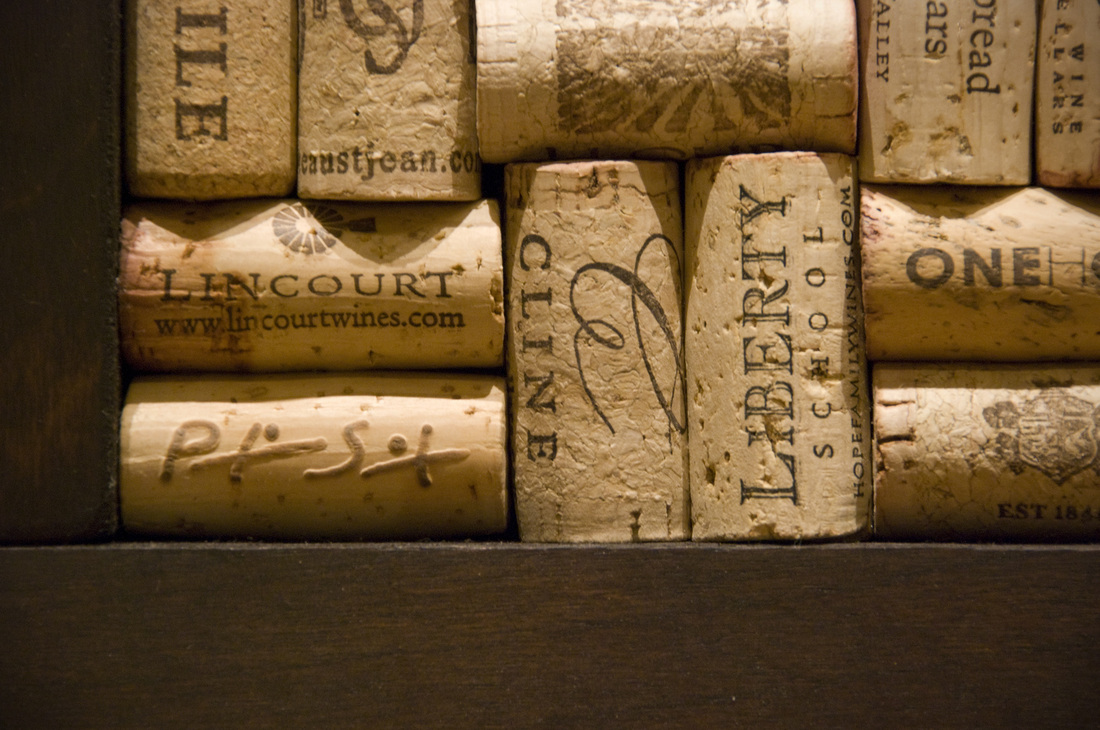
I'm leaving you with some final pics and hidden details of the project. Hope it inspires you to tackle a project of your own! Good luck!
Some rows were indeed a very tight squeeze and sometimes a whole row would pop out under the pressure while I glued down others. This part of the project easily consumed of the majority of the time spent on it.
I suggest making a good Pandora station and finding a huge dose of patience. I had to step away from it many, many times for sanity's sake. The tedious labor of getting 1,116 corks down and glued was certainly worth it though in the end because it all came together to make a beautiful piece.
One final thing that kept me going was that I had decided during the process to give the board to my dear friend Adam and his new wife Lauren as a wedding gift. Thinking of them often gave the little extra push it took to get another row down at 2am on many occasions.
I'm leaving you with some final pics and hidden details of the project. Hope it inspires you to tackle a project of your own! Good luck!


 RSS Feed
